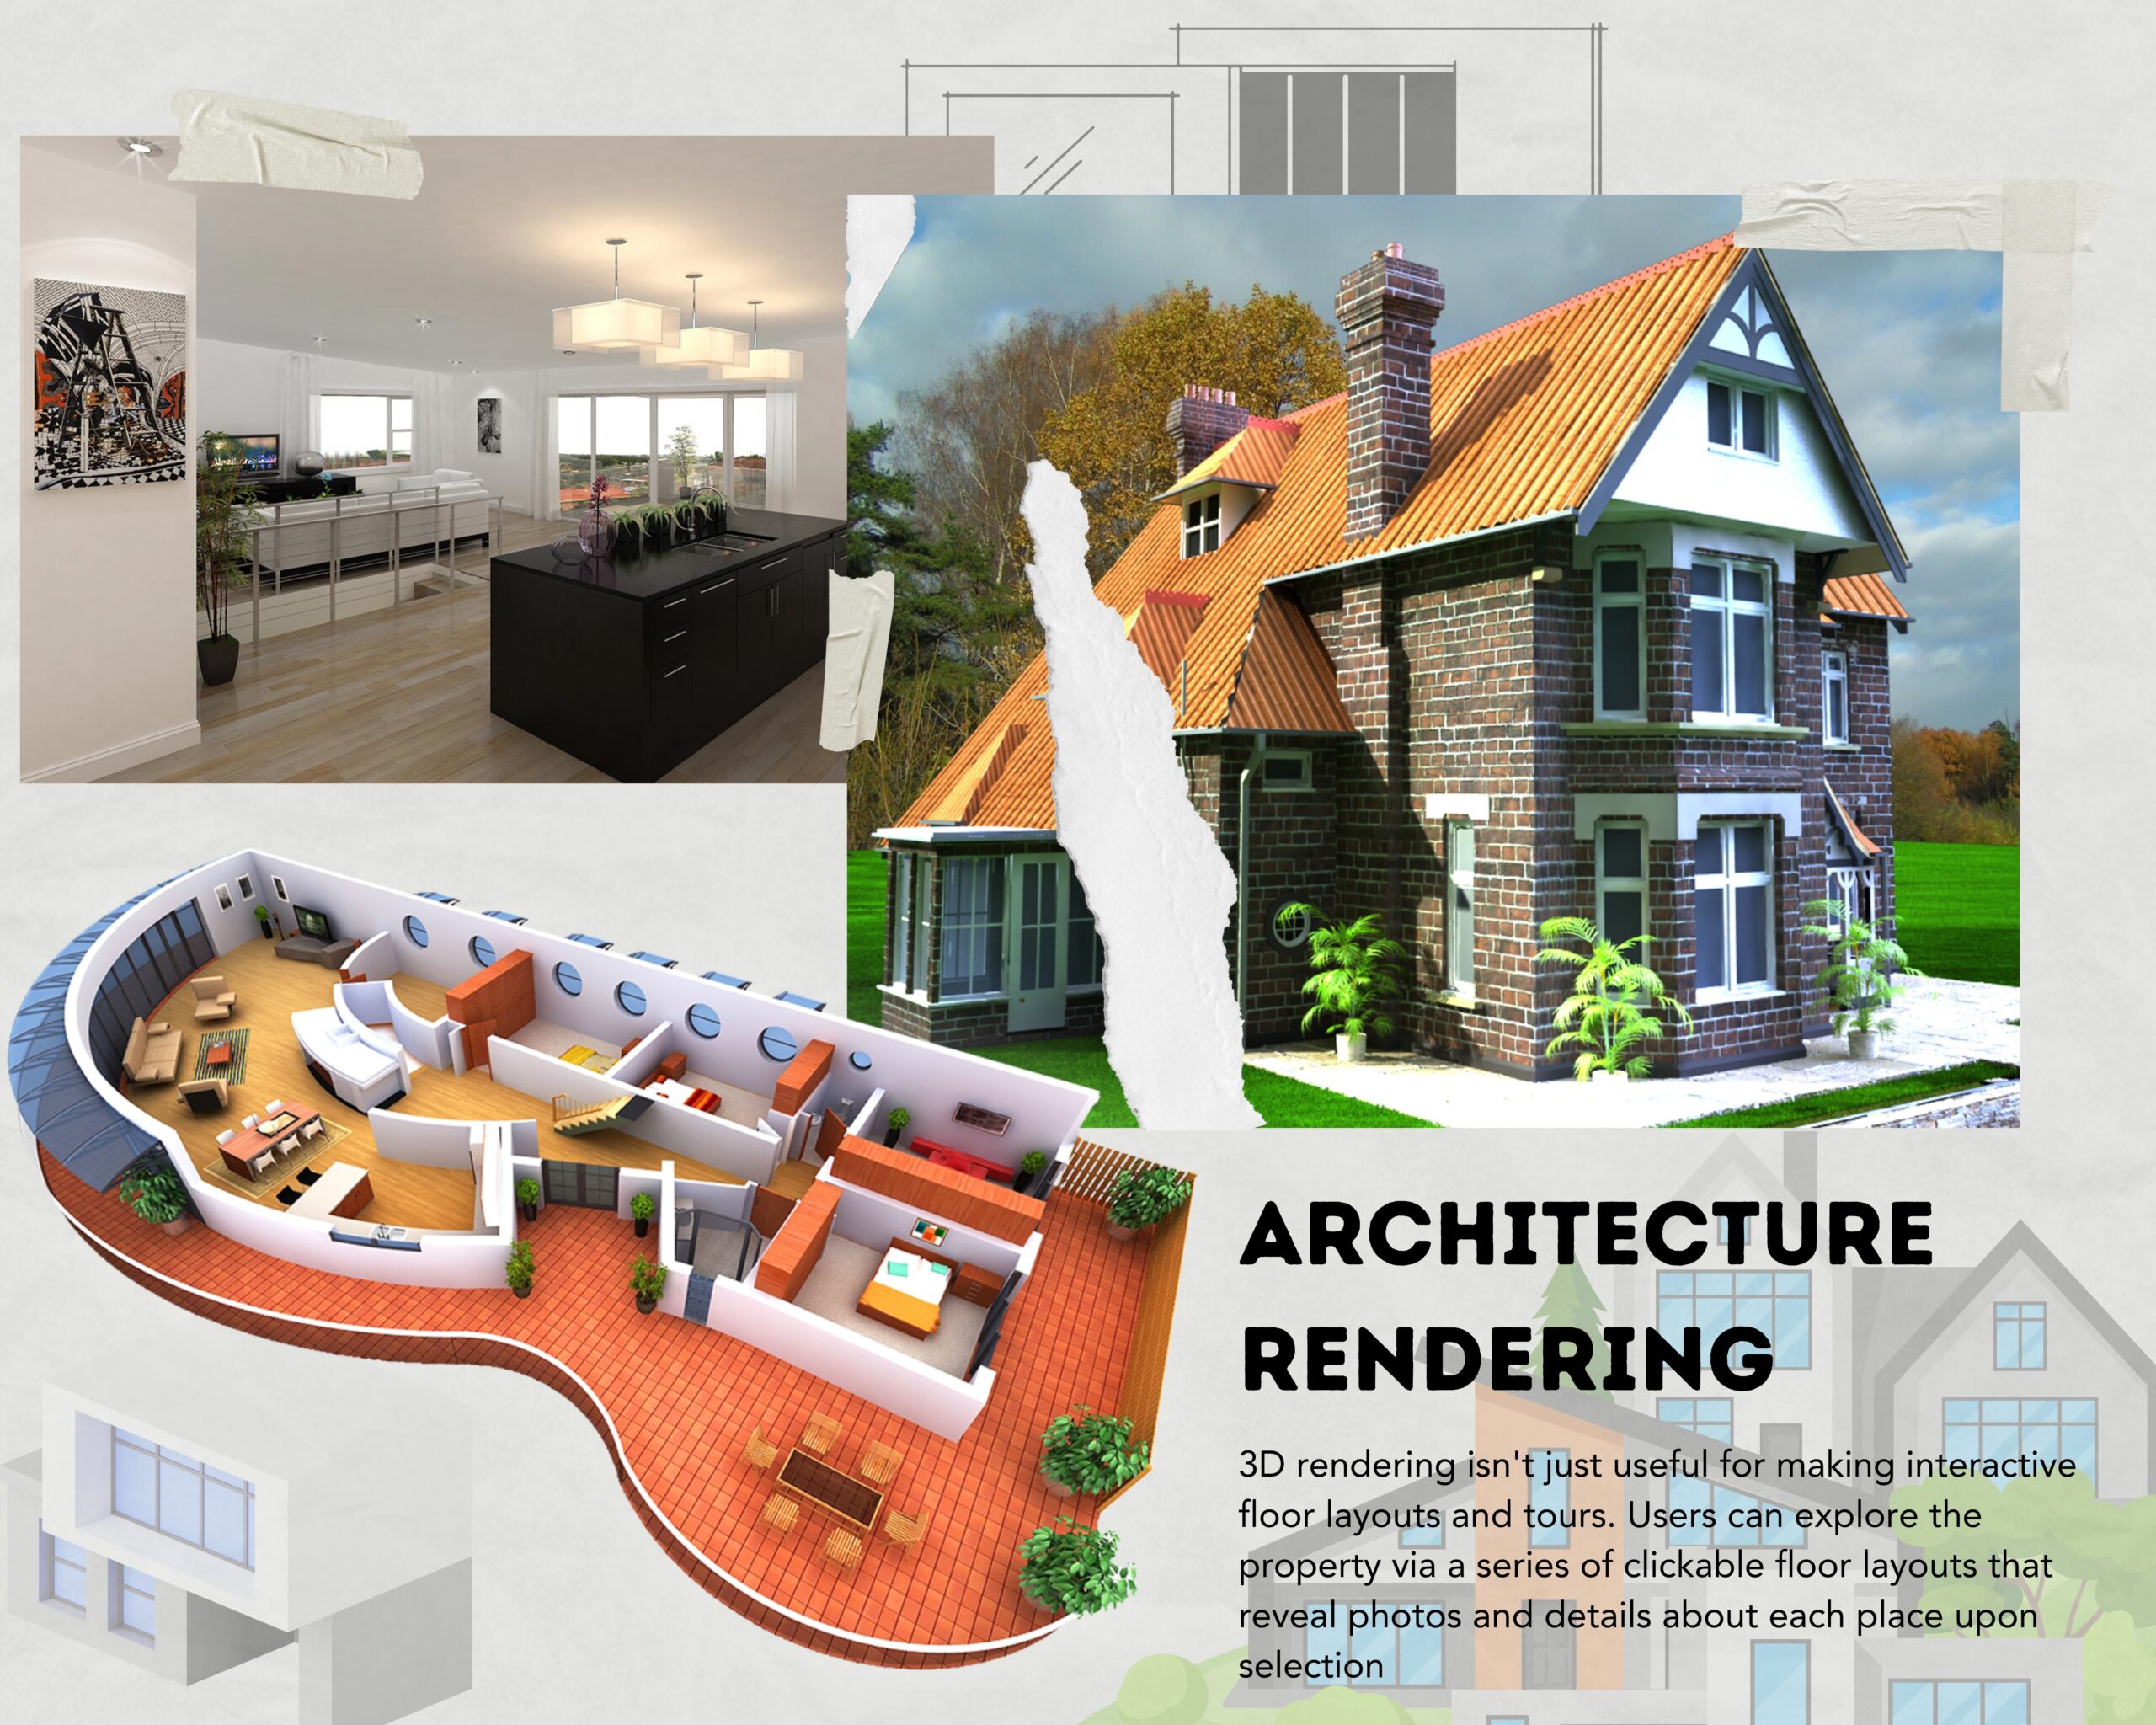
In today’s world, the interior design industry takes advantage of cutting-edge tools and techniques to create breathtaking interiors for their clients. One of the many strong resources available to designers today is the capability to render their creations into real-life images in 3D. In this post, we’ll explore on the importance of 3D rendering and see how it can be used to make great interior designs.
Understand your client’s needs and vision.
Understanding the wants and desires of the client is the first step in producing a spectacular interior design with 3D visualization. Doing so entails actively listening to and questioning the client to fully grasp their desired aesthetic, preferred color palette, and other criteria for the project at hand. Spending time getting to know your client’s preferences and goals is essential to producing a design that will please them and meet their objectives.
Gather inspiration and create a mood board.
After you and your client have settled on a shared vision for the project, it’s time to start collecting ideas for a mood board. Images of the pieces of furniture, color palettes, and textures that will be used in the design are all included on the mood board. Putting together a mood board is a great way to make sure your final product flows well and is exactly what the customer wanted.
Pinterest, home decor publications, and photographs of the natural world are just some of the places you might look for ideas to incorporate into your mood board. Always consider the client’s taste and the intended function of the room when making your image selections.
Create a photorealistic model with 3D modeling software.
Once you have a firm grasp of the layout, you may begin developing a 3D model in a rendering program. Software like ArchiCAD, SketchUp, AutoCAD, and 3ds Max are just a few examples, and each has advantages and disadvantages of its own. It’s crucial to pick a program that fits your needs and lets you make a detailed replica of the room.
It’s crucial to get the finer points of the room’s design, furniture placement, and window/door positioning right when making the 3D model. Making a detailed prototype helps guarantee that the final result will be true to the original concept.
Bring the design to life by giving the models textures and details.
The design will come to life when textures and details are added after the space’s framework has been established. Wallpaper, flooring, furniture, and accessories are all fair game. By including these specifics, you’ll be able to provide a more accurate rendering of the area for your client.
When deciding on finishes and accents, keep the design’s overarching concept in mind to ensure everything flows smoothly. See what feels most at home in the room by trying out various materials and finishes.
Enhance the 3D visual with lighting
The quality of the lighting is of paramount importance when making a 3D depiction of interior space. By strategically placing lights in the design, you can simulate how the room would look in various lighting scenarios. Natural light, artificial light, and even mood lighting all fall under this category.
Consider the room’s intended atmosphere and make sure the lighting enhances the decor before making any final decisions. You can try out various lighting setups to find out what looks best in the room.
Evaluate and make the 3d design adjustments, as necessary
Once your 3D rendering is complete, it’s time to look it over and make any necessary changes. Modifying the structure, altering the color palette, or adding or removing elements are all examples. You can guarantee that the final result will live up to your client’s expectations by carefully reviewing and revising the design.
Take the client’s comments into account when you assess the design and make any necessary adjustments. You can collaborate with the client to make any necessary adjustments and guarantee that the finished output is in line with their expectations.
Deliver the finished product to the customer.
After reviewing the design and making any required changes, you should offer the result to the client. Making a presentation with photos of the 3D rendering and other design elements like fabric and paint swatches may be necessary.
Taking the time to describe the design and how it satisfies the client’s needs and vision for the area is essential before handing over the finished result. Your client’s trust in the project’s outcome and enthusiasm for moving forward can be boosted in this way.
Use the 3D-rendered image to guide the actual design process.
After the final design has been accepted, the 3D visual can be used as a reference during the construction phase. To guarantee the design is performed appropriately on site and the final product resembles the 3D visual, it may be necessary to collaborate with contractors or other professionals related to that industry.
The 3D rendering is always used as a reference in all projects during the design phase to guarantee that the finished result is in line with the client’s expectations and budget. As the project develops, you may use the 3D rendering software to make any design tweaks that are required as per the site and design conditions.
In conclusion, 3D-rendered images can be an excellent resource for developing an eye-catching interior design for clients and contractors. By following the steps outlined above, you can create a design that accurately represents your client’s needs and vision for the space. Interior design interns and newcomers alike can benefit from learning how to use 3D rendering software to visualize their projects at the beginning of their careers.

If you decide to use Phiarcs Solutions to handle your outsourcing needs, you can rest certain that your project is in good hands. This is because Phiarcs Solutions has worked with clients from a wide range of industries, giving them exposure to the unique problems and threats faced by each.


Add a Comment